
Updating the Menu
| Log in to admin area of website | |
| From the admin homepage, click on Appearance and then Menus on the left | 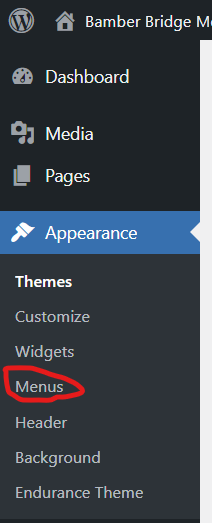 |
| To add a page within the website to the menu, click on ‘Pages’ in the ‘Add Menu Item’ section on the left. From this, click the box next to the page(s) you want to add to the menu, and then click ‘Add to Menu’. This will then appear at the bottom of the menu screen on the right – follow the editing instructions below to move it. |  |
| To add an arbitrary web link to the menu, click on ‘Customer Links’ in the ‘Add Menu Item’ section on the left. This may be something like a link to the circuit website or a link to a PDF file. From this, copy and paste the address of the website into the URL box and the text you want to appear in the menu and then click ‘Add to Menu’. This will then appear at the bottom of the menu screen on the right – follow the editing instructions below to move it. | 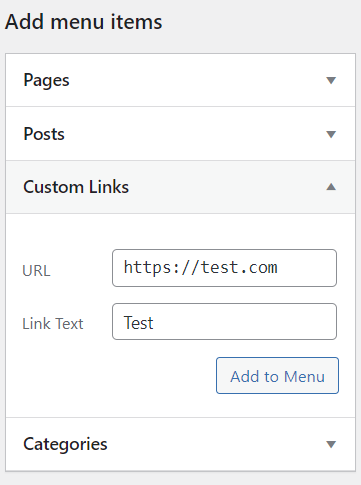 |
| To move a menu item, drag it from where it currently is to where you want it to be. You can control whether this is a top level menu item or a sub-item by positioning it horizontally: – If you position the menu item to the left (like the first example) it will be a top level item. – If you indent it to the right (like in the second example), then it will be a sub-menu item underneath the item above it. | 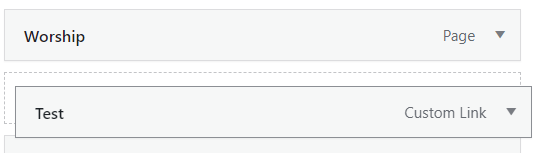 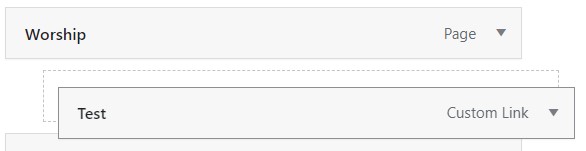 |
| To remove an item from the menu, click on the item name, and then click ‘Remove’ | 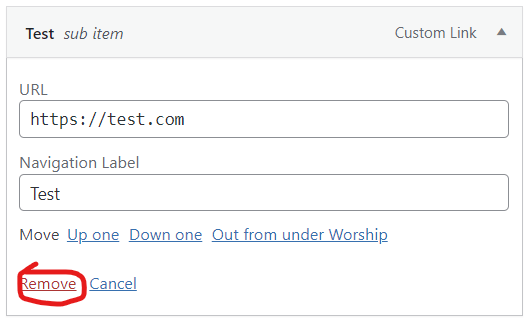 |
| Finally, save any changes you have made by clicking the ‘Save Menu’ button in the bottom right |  |